

SSD and HDD Cloning: Upgrade While Keeping Your Data
Cloning a storage drive like an SSD is copying every single bit of data from one drive to another. This is not an instance where you would just copy files and folders but rather include everything else like registries, OS settings, hidden reserve partitions, and sometimes even BIOS settings.
If all those things start to sound intimidating to you, don’t fret. With the correct application and instructions, it really does feel no different than transferring your family photos from one drive to another. However, we do need to learn a few more things, plus a bit of info on how cloning works specifically for SSDs.
Pros and Cons of Cloning
Pros
- Saves time and effort. With cloning, all data is theoretically kept in place. The system can feel brand new without switching up your files or preparing new folders in the newer storage drive. No need to manually copy and reorganize them, therefore saving up a lot of your time to set things up again. Just plug in the newly cloned SSD, and off you enjoy faster data transfer rates!
- Preserve settings and configurations. A perfectly cloned SSD with no drastic hardware or system architecture changes will allow the old OS installation to remain completely functional. Every customized tweak and setting that you may have on your old system would not need to be redone.
- Speeds up your older system. If done to clone your old HDD-based OS to an SSD, the most tangible benefit is the increased speed and responsiveness of the transferred system. No more long waiting until boot, programs will now launch much faster, and file searching will also be a lot snappier.
Cons
- Space management complexity. Other than simply raw data, other considerations could make cloning a bit more complex, if not more tedious. Things like temporary files or binned folders or the drive capacity of the new SSD. Even looking for hidden partitions requires knowing exactly the type of data you need to transfer perfectly.
- Transferring clone drives may introduce errors. When using cloned SSDs, there could be unforeseen errors caused by minute changes between the new hardware and the system. This is not exactly an issue if SSD data integrity is checked beforehand and if it is the only hardware replaced at the time the system is rebooted. But if, for example, you swapped the GPU at the same time or you transferred the SSD to a new PC, then some hardware incompatibility issues may still persist somewhere.
- May still require a new Windows license. If you use an OEM-type license for your Windows OS, the system may detect that hardware has been changed, therefore losing its eligibility. You will either have to get the same license type again or already have a permanent type of license before initiating the cloning upgrade.
SSD and HDD Comparison
Solid State Drives are faster than regular HDDs, EsportsHeadlines.com confirmed it several times, with their take on the best external SSD for the Steam Deck being their latest conclusion. But this does not take into account the speed in both directions. If you are cloning an SSD from an HDD, the SSD can only keep pace with the HDD’s maximum read speed. So presumably in older systems, the operational benefit of a fasting cloning process is not really met when HDD is the original storage medium.
The same goes for SATA and NVMe SSDs. But this time, the NVMe SSD has to keep pace with the “slower” read speed of the SATA SSD. Often this is not too much of a bother. However, SATA SSD is still fast enough today that the cloning process is still achieved with a much faster time.
One last thing to note is SSD write cycle limitations. If you are using an SSD that was already used extensively before, you may want to check the overall health status of the drive before cloning since the process requires the entire drive to be rewritten (therefore reducing a good amount of write cycles).
HDDs do not have this issue, and you can simply keep cloning them so long as they stay mechanically healthy. You’ll be stuck with much slower speeds, in any case.
Preparing to Clone the Drive
Before proceeding with the cloning process, it is highly recommended to do these preparatory steps first:
- Backup all the most important data first, or any data worth recovering in another separate drive. In case some random freak accident occurs such as a power outage, you won’t be digitally compromised.
- The cloned drive should at least be of equal capacity, though it is recommended that you use a bigger one. If applicable, choose the drive with the more updated technology (NVMe is faster and more compact than SATA or e-SATA, for example).
- If cloning a 2.5-inch SATA drive, prepare a SATA-to-USB 3.0 adapter/caddy. This will allow the storage drive to connect to your system without the need to connect it to the motherboard internally. For 3.5-inch drives, you may need to purchase a model that provides additional external power, something like this.
- If cloning an NVMe drive, you will have to install it to one of the available M.2 slots on your motherboard. For older systems, double-check if the M.2 slot supports PCIe connections. If not, skip this step (the motherboard most likely only supports e-SATA).
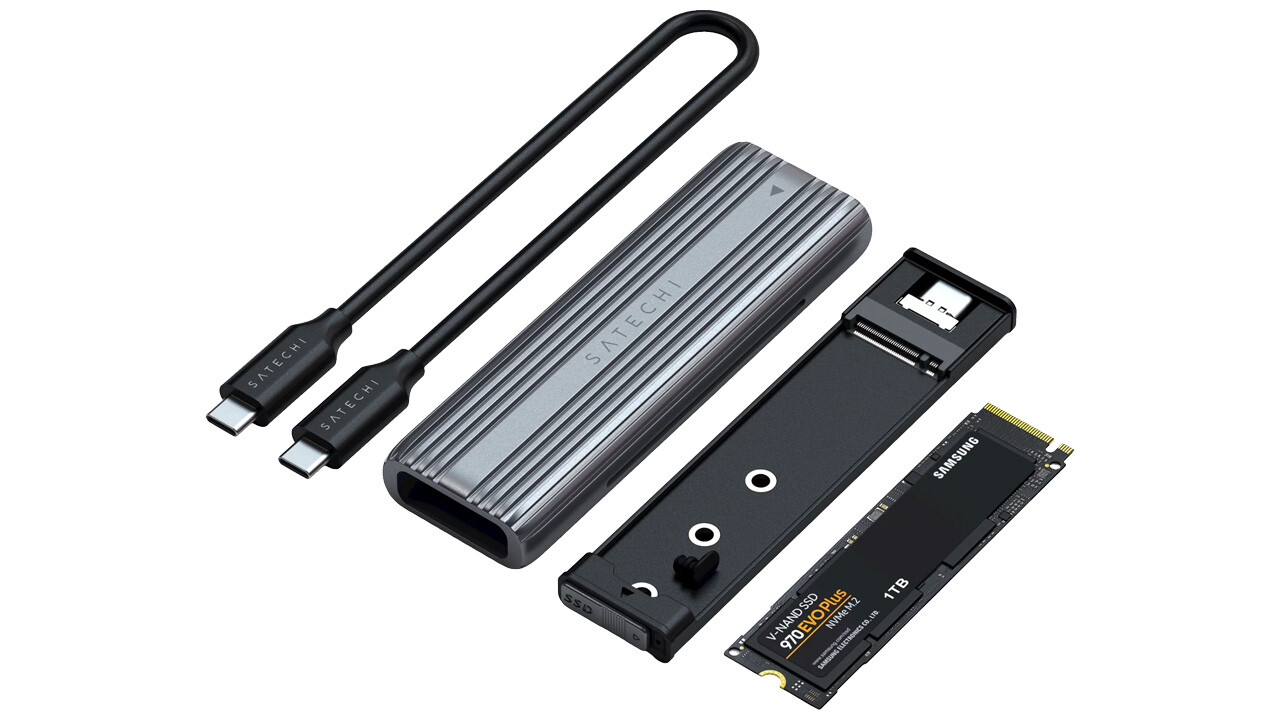
- Another way to connect an NVMe drive is to use a dedicated NVMe enclosure that plugs into a USB port. At least 10 Gbps speed support via USB-C is recommended, although 5 Gbps via USB Type-A would do if your computer does not support faster USB 3.0 connections.
- Format the new drive. This is needed to recognize it as a fresh, usable drive by your current OS. Steps to do this can be found here.
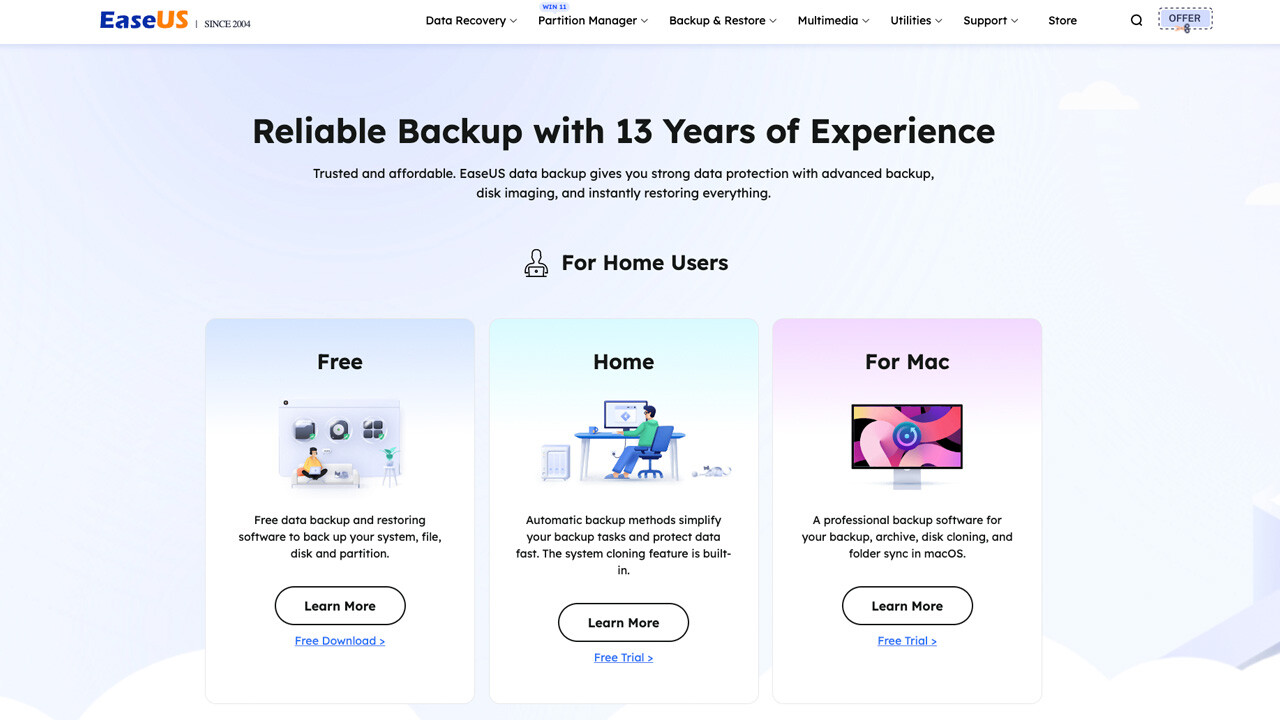
- Lastly, choose your preferred software tool. For this article, we shall recommend Macrium Reflect (30-day trial), and EaseUS Todo Backup, two of the most recommended free cloning apps for Windows.
Cloning step-by-step using Macrium Reflect
First, get Macrium Reflect here, and install it as a “Home” version. Then, launch it to follow these next steps:
- Click the “Backup” tab (beside “Restore” and “Log”), then click on the “Create a backup” tab (besides “Backup Definition Files” and “VBScript Files”).
- Click on the “Clone this disk” option.
- On the new menu under the “Destination” area, click “Select a disk to clone to.”
- Select the new drive destination.
- Click the two “Next” buttons. Check the information on each menu to see if they are accurate.
- Do one last check of the operation and source disk info, then click the “Finish” button.
- Type a name for your backup destination, then click “OK.”
- Click “Continue”.
- Close the program after it finishes.
Cloning step-by-step using EaseUS Todo Backup
Again, get the EaseUS Todo Backup software here, install it, then follow these next steps:
-
- On the main page, click on “Tools”, then select “Clone.”
- Select the source disk or partition, then click “Next.”
- Select the target destination disk, then click “Next.”
- After reading the data wipe warning, click “Continue.”
- Close the program after it finishes.
Expanding the Cloned Drive
If the new cloned drive is bigger than the original, you need to expand it to make the extra space usable. Here are the steps:
- Type “Disk Management” on the Windows search bar.
- Click on “Create and format hard disk partitions.”
- Right-click on the newly cloned drive, then select “Extend Volume.”
- Click “Next,” then select the space you want to allocate (usually automatically set).
- Click “Next” again, then click “Finish.”
Tips and Pointers
-
- Remember to remove the original boot drive first, then set the new cloned drive as the primary boot drive. You definitely can just change the boot drive order, but it is better to completely remove the older drive to eliminate any chance of a start-up error due to duplicate OS installations.
- Keep the original drive for a while, just in case unintended errors become too disruptive or uncorrectable.
- If ultimately necessary (preferably after a long time of no errors on the clone drive), wipe the data from the older boot drive while it is connected externally (via USB). Format it as a fresh new drive if you wish to do so.
 Software Developer,Admin,Gamer,Gambling Expert and recently a happy parent :) so generally busy...